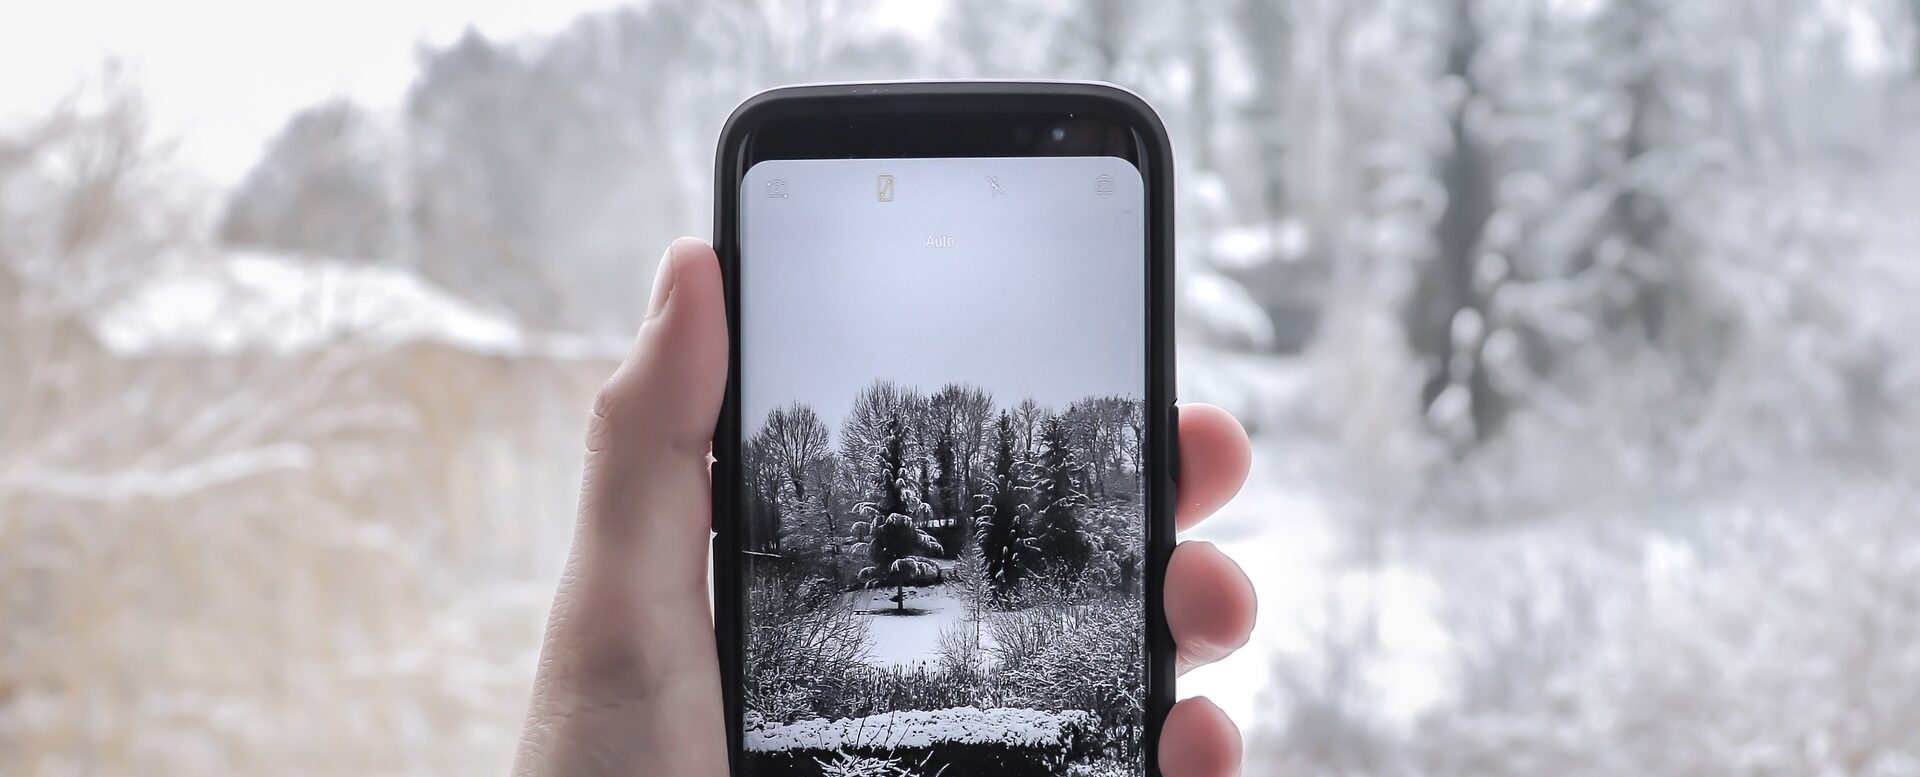
Struggling to take decent photos for your history blog right now? You’re not alone. Winter photography evokes thoughts of endless blankets of crisp white snow, but with overcast days and limited daylight, winter can also be a tricky time of year for taking photographs to go with your posts.
Though not as versatile as a DSLR camera, year on year smartphone cameras are getting better and better. This is great news for when you need to take that quick clear shot of a portrait, statue or Great Hall. So, right in your pocket, requiring very little set-up, your phone is the ideal tool to take beautiful pictures that will complement your history posts. So now I want to give you a few phone photography tips to help you out this winter.
Dress for the Weather
Before we even get to the shooting part definitely dress for the weather. You might be standing still for a long time lining up a shot so be prepared. You’ll thank yourself when you’re not shaking with the cold while trying to take a steady photo. And if your gloves don’t work with your smartphone then why not try these ETouch touchscreen gloves.
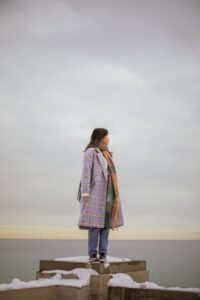
Outdoor Photography
Overcast Days
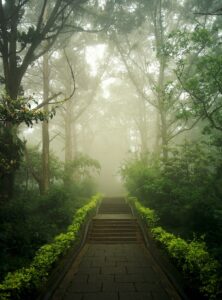
Fog and cloud may seem like an obstacle to taking a good photograph but in reality, they can make for a more atmospheric image.
The picture below shows that by shooting something interesting in the foreground you can make the most out of a covering of fog. It can make buildings and monuments seem more mysterious and impactful. So don’t be deterred by the bad weather. On some smartphones, the focus can be changed by simply tapping the area of the screen you need to refocus.
Photographing Snow
An obvious go-to for photographing in winter is to wait for the snow.
The trick to photographing snow is to make sure the exposure and white balance is correct when shooting your photo. This will make life easier for you when you edit.
On some smartphones you’ll be able to edit this on the go, For example on an iPhone you can tap and swipe up on the yellow box that appears on your screen and the phone will manually adjust the exposure for you. Or if you’re unable to adjust the exposure in real-time you can always adjust using the settings on your phones image gallery.

Overexposed 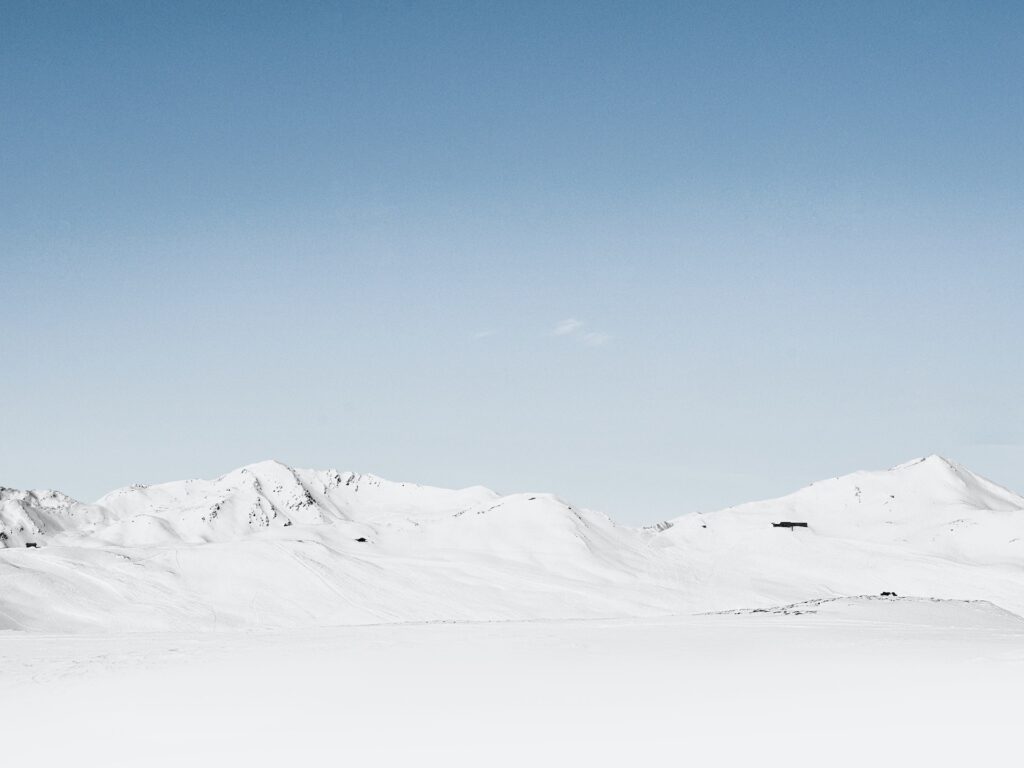
Ideal Exposure 
Underexposed
Find a Pop of Colour
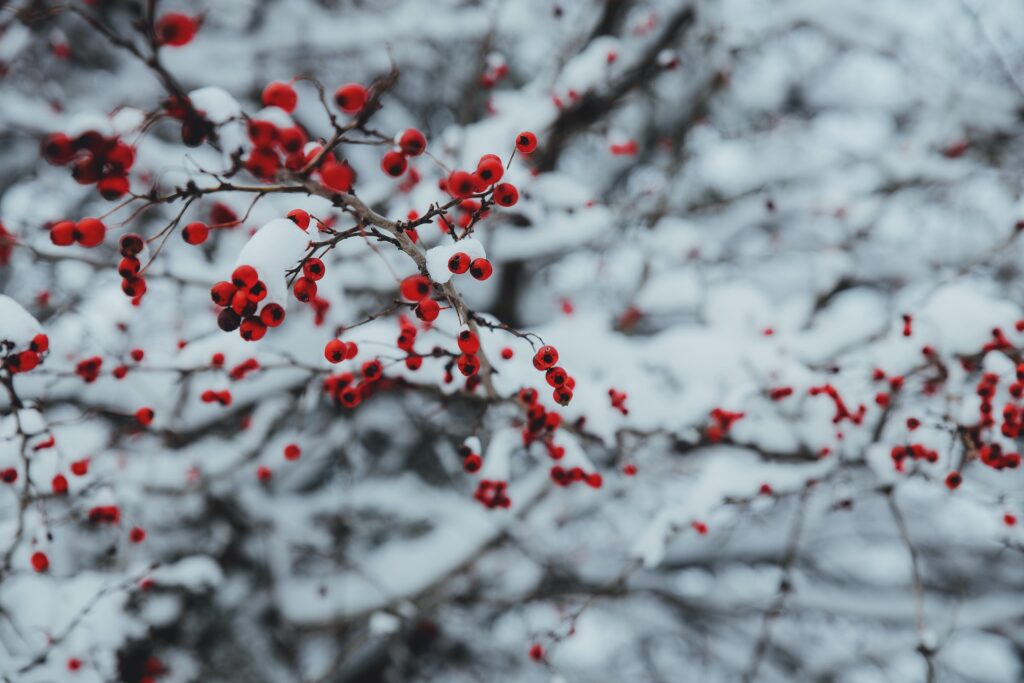
An all-white snowy scene is always a good go-to for winter photos but often a pop of colour can make all the difference and adds another point of interest to a photo. So look for bright colours or introduce some to an image by wearing bright colours or by bringing a colourful book or umbrella.
Shoot in the Golden Hours
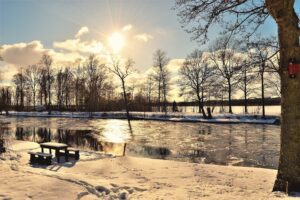
The golden hour is simply the period of sunrise and sunset. This is when the light has that lovely orange glow. It can add a lot of warmth to what might otherwise seem like a boring image. It might seem like a chore to go out at the crack of dawn but it really is worth it when you see the results. When editing this type of photo adding some extra saturation enhances the orange tones for more warmth.
Indoor Photography
Overcast and shorter days aren’t the ideal situations to be photographing in. However, it’s still possible with some pre-planning. If you’re setting up inside for flat lays, products, or portrait images the limited light can pose some problems but there’s a few tricks and tips you can use to make it work for you.
Embrace the Darkness
No that’s not the name of a rock band. It may be dark through winter, but that doesn’t mean you can’t use that to your advantage. Using a lamp you can cast shadows across your flat lay images, or yourself. Sometimes a gloomy, heavily shadowed image captures the mood of winter. When photographing yourself wear white or bright colours to lighten the image and darker colours to really commit to that mysterious vibe. When editing these types of photos don’t be afraid to use the contrast slider to make the shadowed parts of the image a richer black colour.
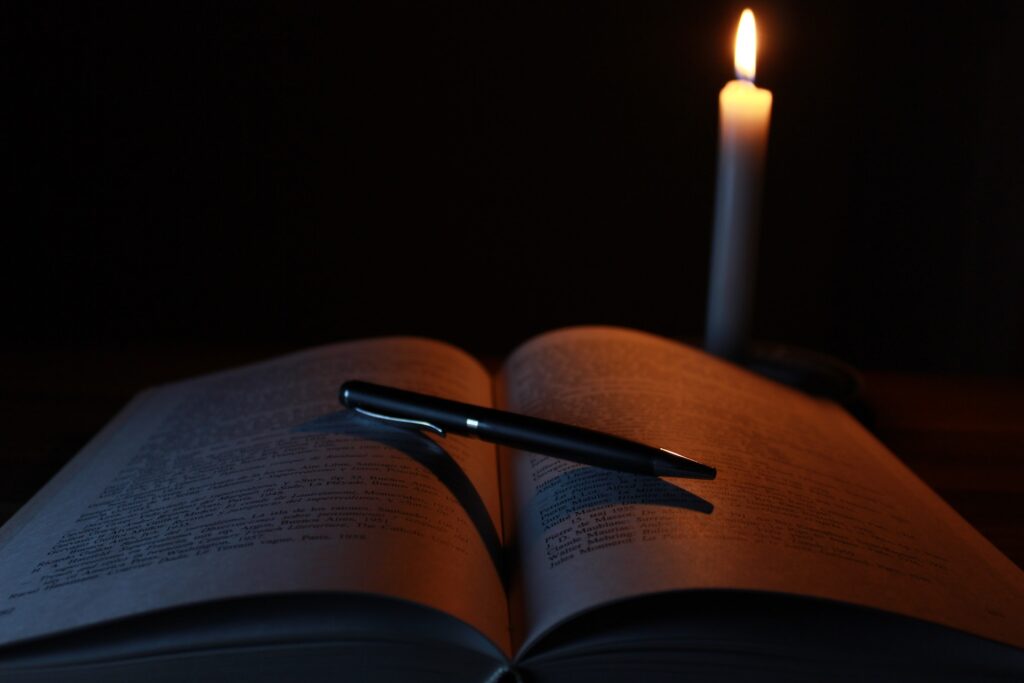
Another trick for enhancing darker images is to use bokeh. Which is simply background lights that are out of focus. You can easily do this with a string of lit Christmas lights. When using your smartphone tap the screen to refocus the image to an item in the foreground and the lights will blur to create the bokeh effect.

Buy a Modelling Light
The temptation when it’s dark is to use your smartphone’s inbuilt flash. DON’T DO IT! Unless you have a diffuser over the flash the image will look awful. The best way to light for indoor photography is to grab yourself a regular lamp or, to give you a bit more control, buy a modelling light. This ring light is a cheap but effective way of lighting the image with a pleasant diffused light and comes with warmer and cooler settings as well as colours.
However, colour temperature should be considered when photographing indoors. Some images may have too much of the orange glow cast from warm indoor lighting or too much blue in the image from cool indoor lighting. I’ve covered this problem in my How To Take A Professional-Looking Headshot blog post.
It’s all Trial and Error (Just Remember to Take Lots!)
Photography is about trial and error. There’s no one specific way to say “this is how you take the perfect photo” and often as a busy history blogger time is a more important factor. So take extra images from different angles, with different settings and with both portrait and landscape.
Not every image will be useable but what you’ll start to learn is which kind of settings are working and which aren’t. Photos on phones have the settings information stored so make a note of these for the next time you’re doing a photoshoot so you can remember the set-up that works for you.
Also, remember that your images will quite often be cropped to be used on different social media platforms or for your thumbnails or header images so try to take photos that can be cropped narrower both widthways and lengthways or even into a square. The last thing you want is to go to all this effort and not have the right size for a banner of Instagram story.

